decídalo MCP server in Microsoft Copilot
The decídalo MCP (Model Context Protocol) server allows you to access decídalo data directly from Microsoft Copilot or Microsoft Teams via a custom Copilot Studio agent. Once set up, users can ask natural-language questions about profiles, resource requests, and other decídalo data without leaving their Microsoft 365 environment.
Prerequisites
- A Copilot Studio license is required to create and publish the agent.
- The MCP integration must be enabled in the decídalo admin settings. If you encounter an error during setup, verify this with your administrator.
1. Create a new Copilot Studio agent
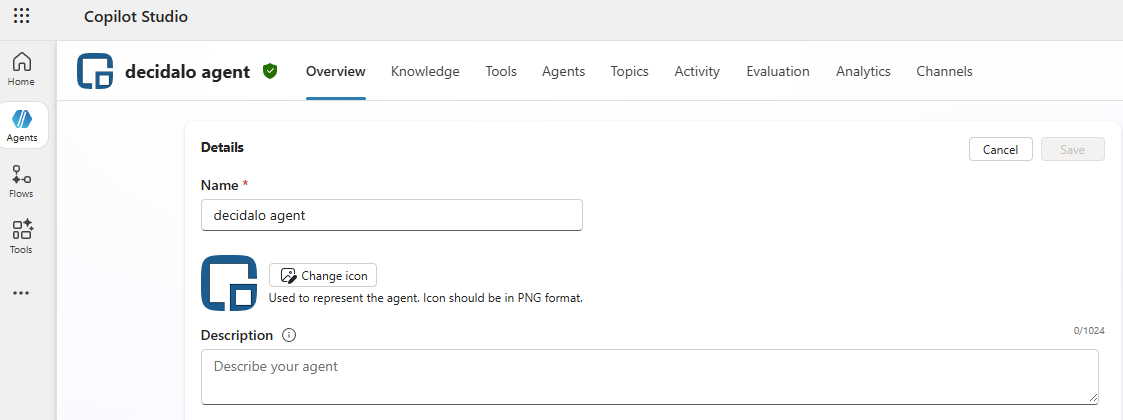
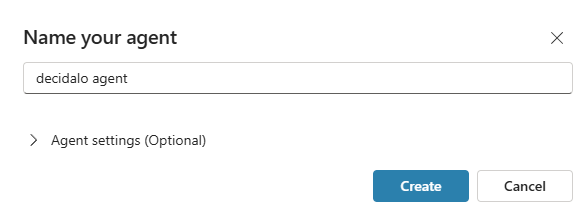
Open https://copilotstudio.microsoft.com/, select an existing environment or create a new one. Create a new blank agent and give it a name of your choice. This name will be shown to end users in the Copilot app and in Microsoft Teams.
2. Add a new tool
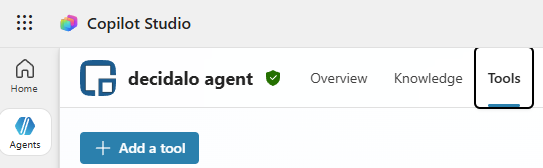
Inside the agent, navigate to the Tools section and create a new tool.
Select Model Context Protocol as the tool type.
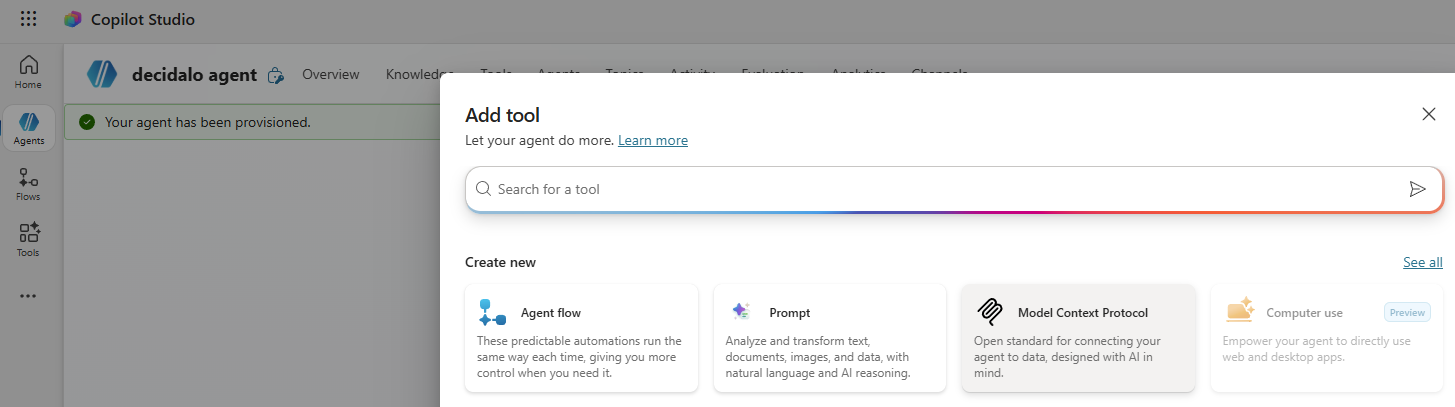
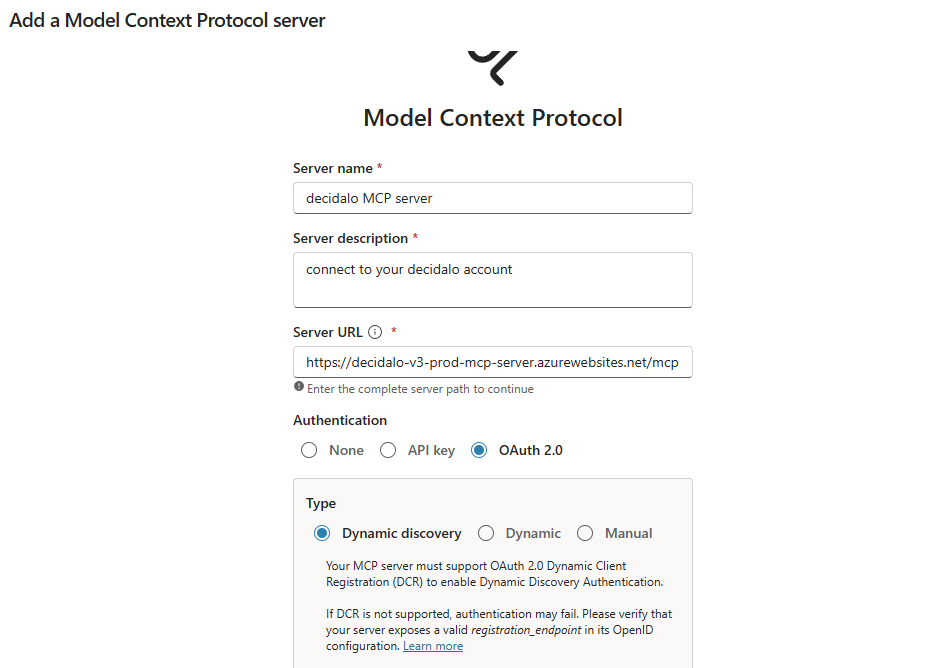
3. Configure the MCP tool
Give the tool a name and description of your choice. Enter the following server URL (also available on the decídalo admin page):
https://decidalo-v3-prod-mcp-server.azurewebsites.net/mcp
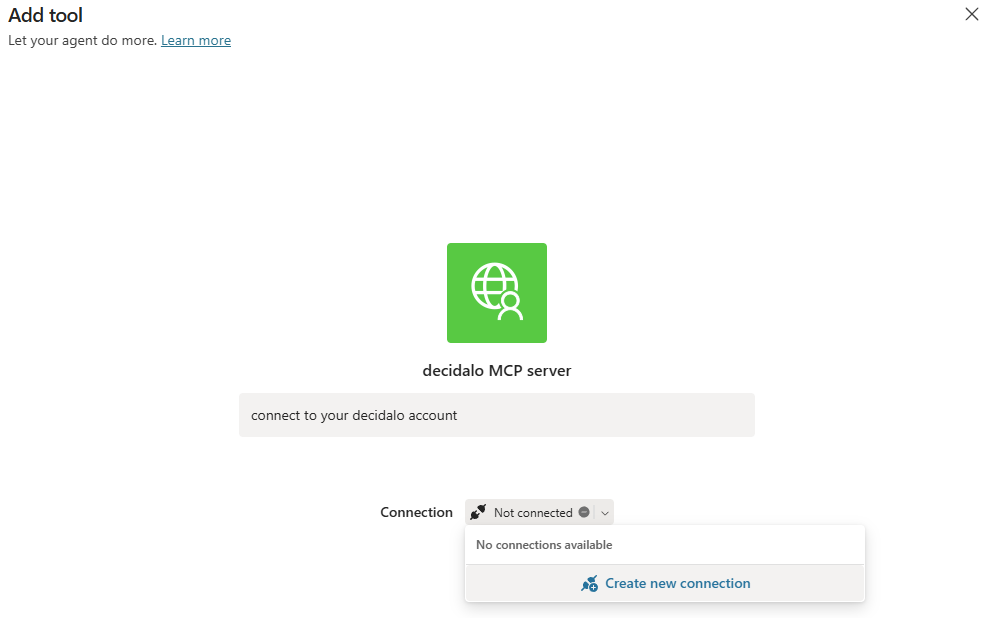
4. Connect to the decídalo server
Click Connect. The tool can only be saved once the connection has been successfully established.
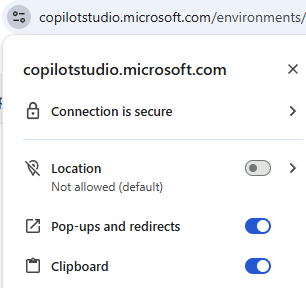
Important: Make sure to allow popups in your browser on this page. A decídalo login dialog will appear; enter your decídalo credentials to authenticate.
5. Configure end-user credentials
In the tool settings, ensure that the option requiring each user to authenticate with their own credentials is enabled. This ensures that users only see data they are permitted to access in decídalo.
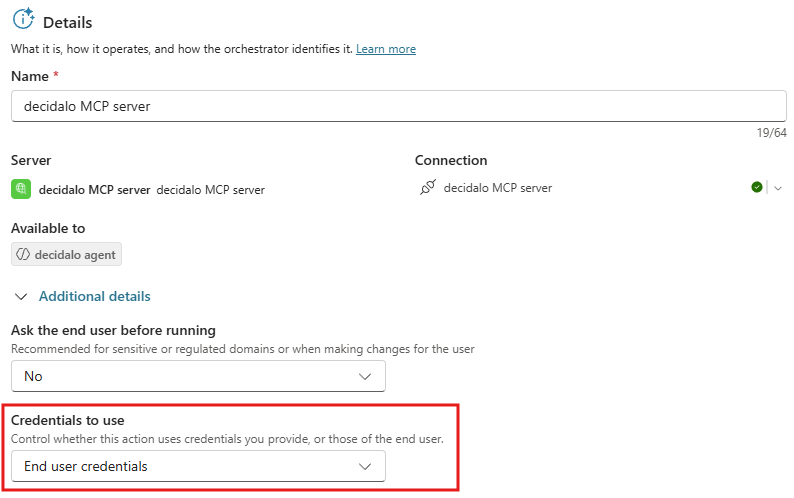
6. Test the agent
Before publishing, verify that the agent can answer a decídalo-related question. Use the test panel within Copilot Studio to send a sample request.
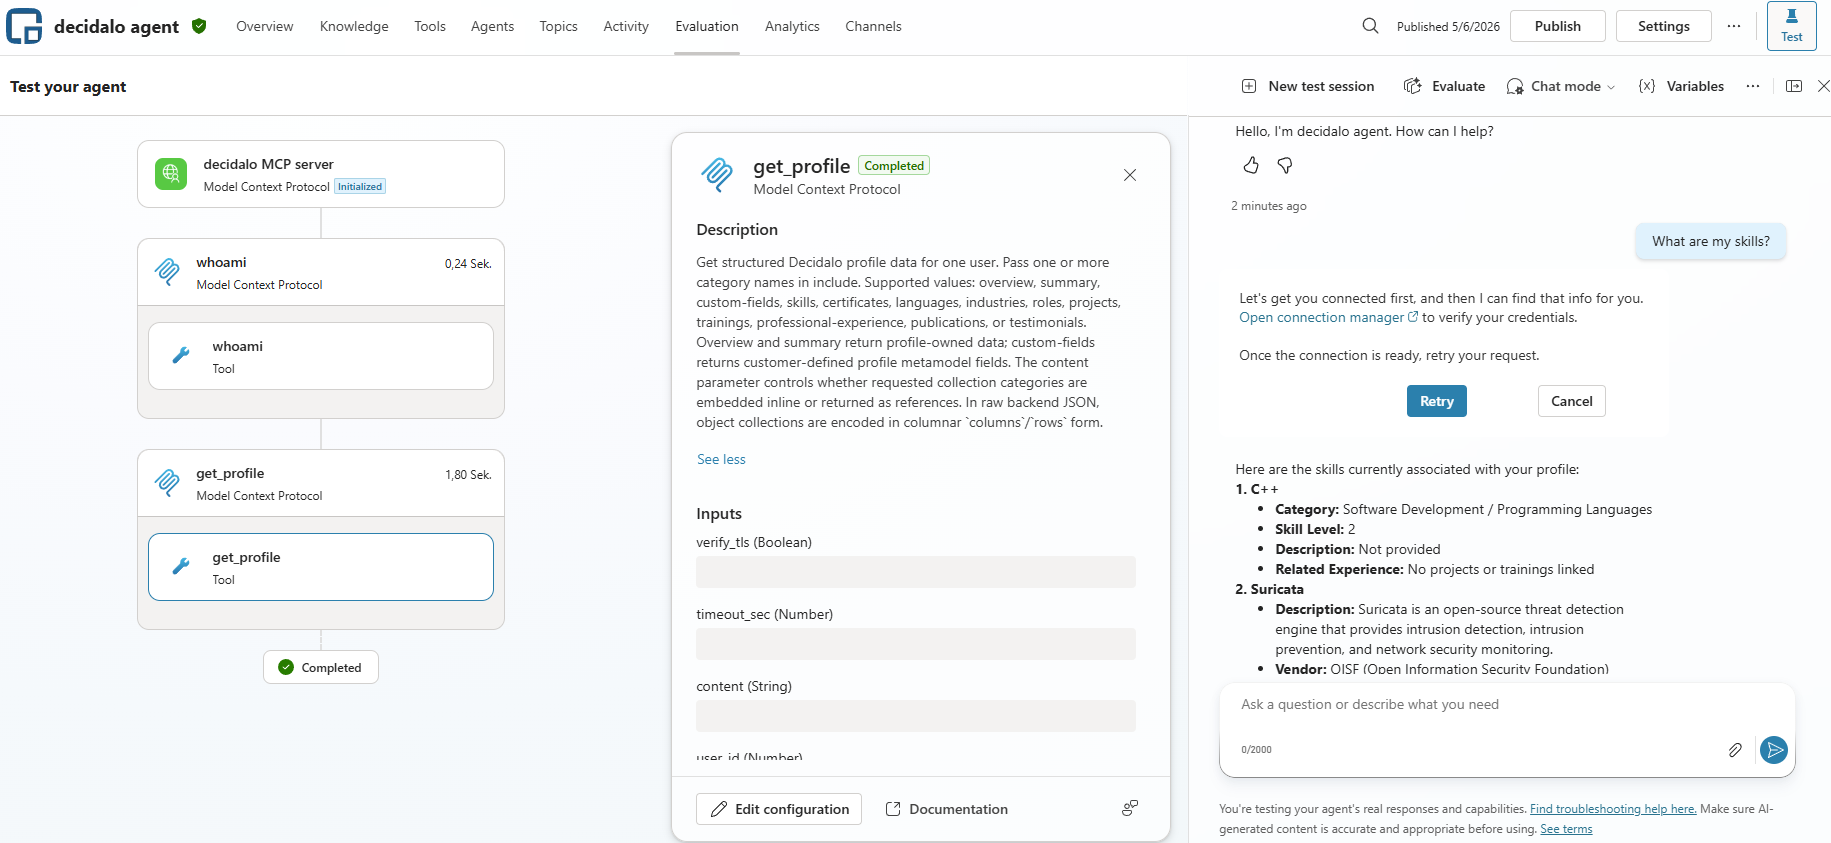
7. Publish the agent
Once testing is successful, publish the agent by clicking the Publish button in the top right corner.
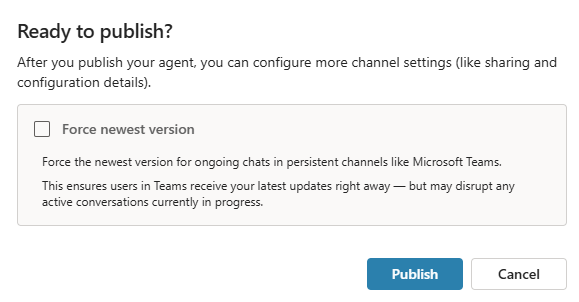
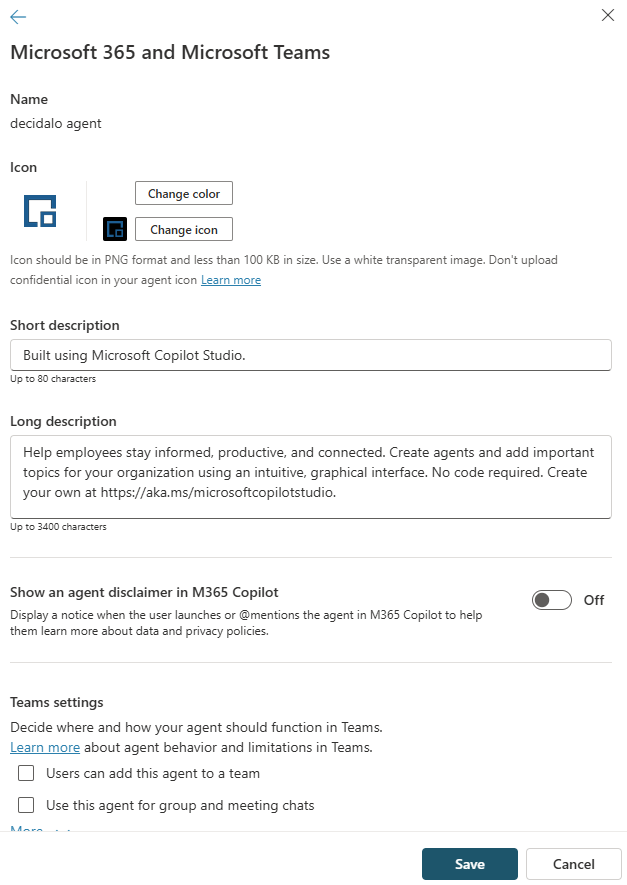
8. Add Microsoft 365 and Teams channels
Go to the Channels tab and add the channels for Microsoft 365 and Microsoft Teams.
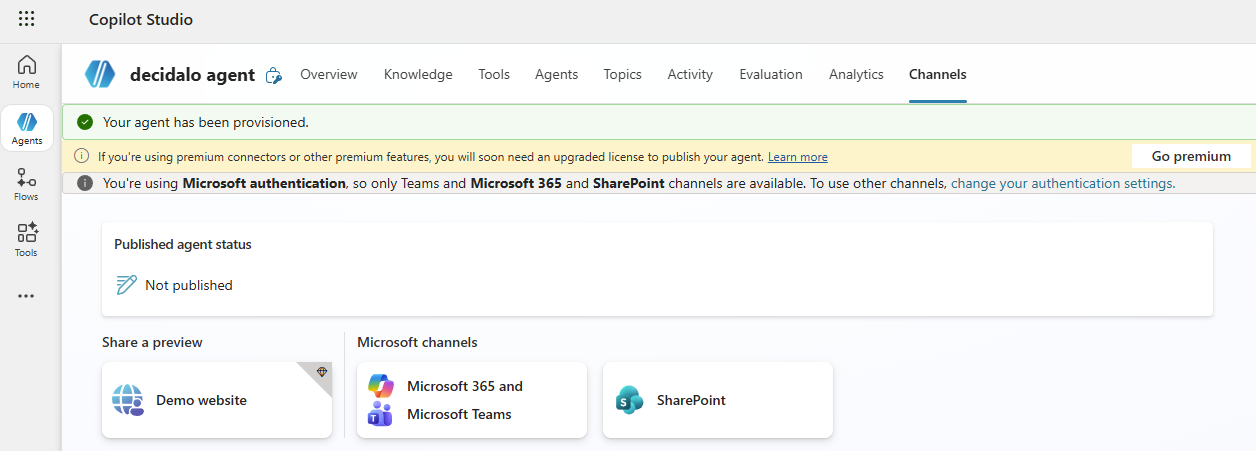
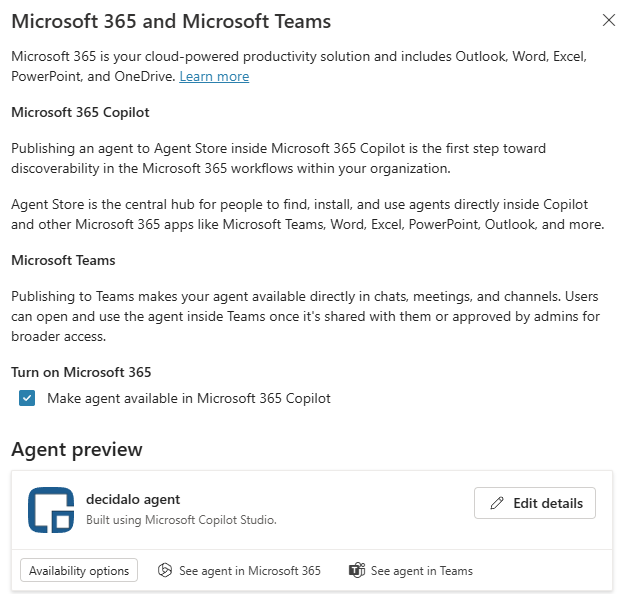
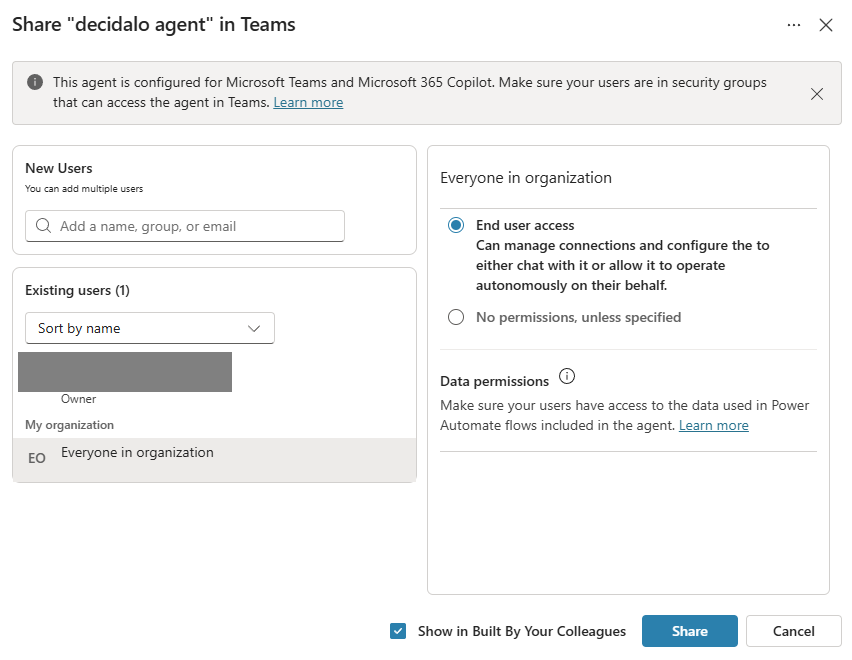
Configure how end users can access the agent and set their permission level as desired.
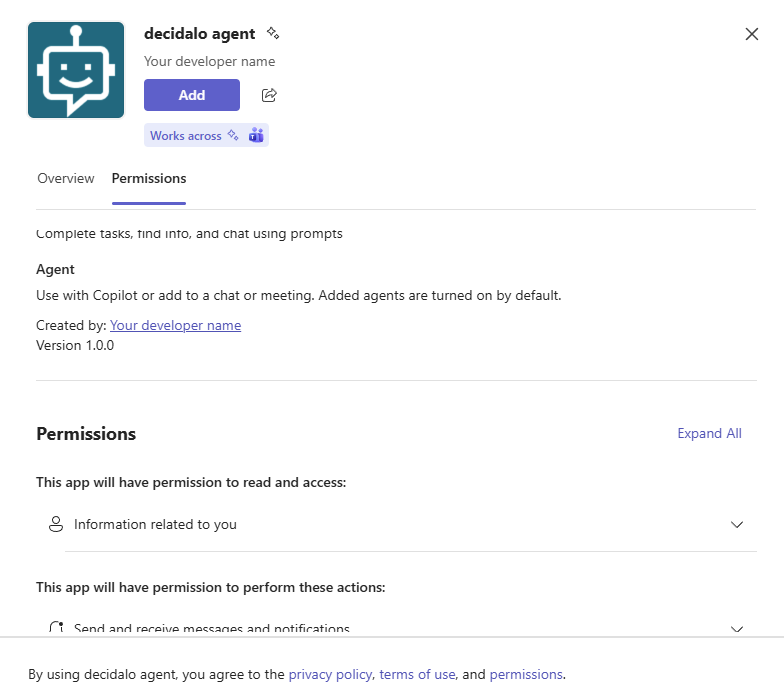
You can also add the agent to Teams directly from this view.
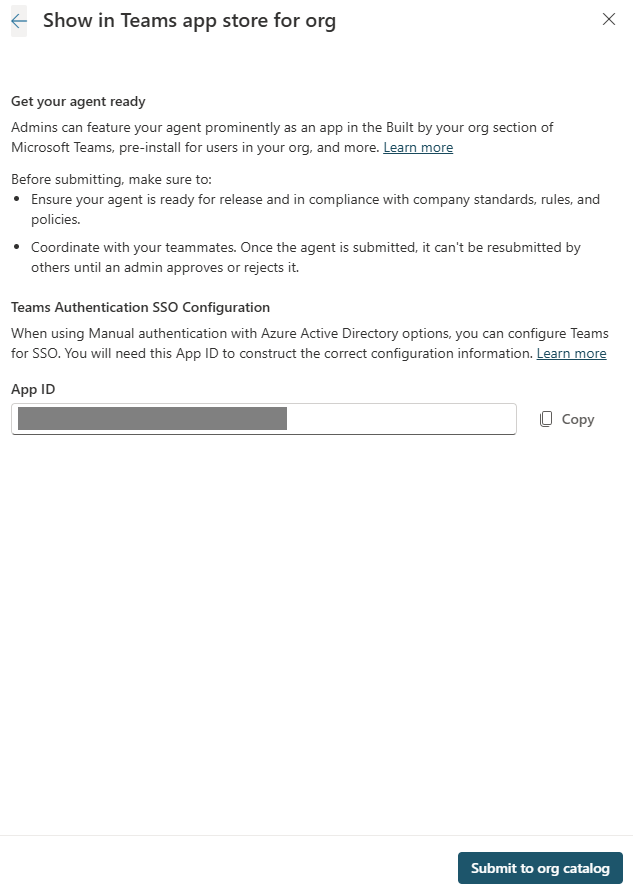
9. Roll out as an Entra app (optional)
If you want to distribute the agent across your organisation via Azure Entra ID, select the option to roll out as an Entra app.
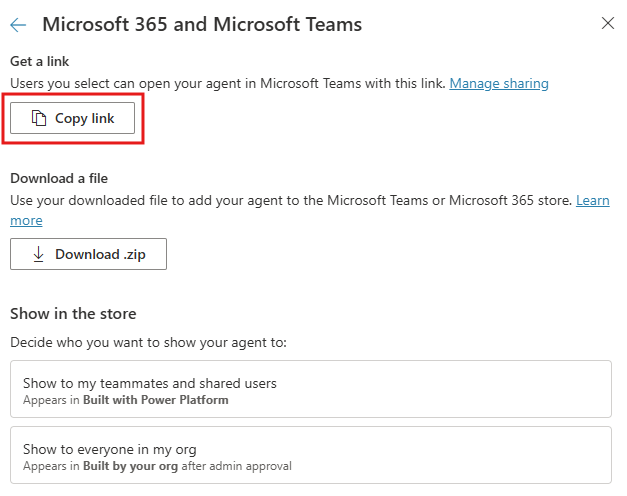
10. Share a direct install link
If the agent does not appear automatically in Copilot for some users, you can share a direct install link from the Channels tab.
11. Use the agent in Teams or Copilot
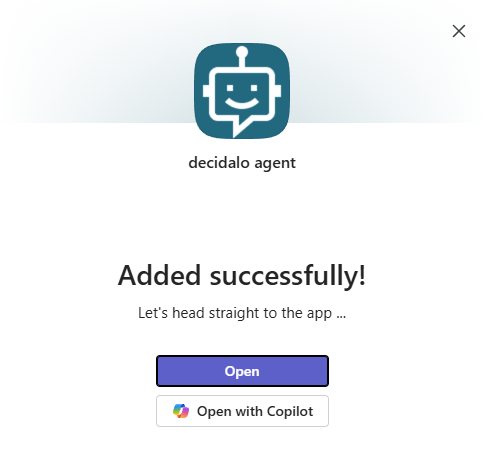
After installation, users can open the decídalo agent directly in Microsoft Teams.
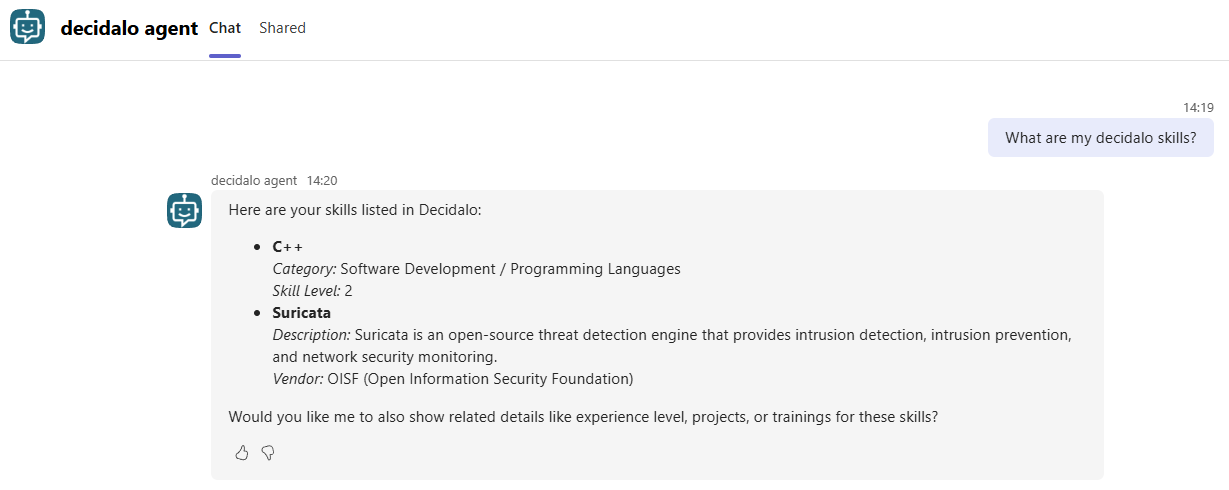
Ask decídalo questions in natural language in the chat. You may occasionally need to reconnect. This is a known limitation on Microsoft's side.
Optional: Add the decídalo logo
You can upload the decídalo logo to both the agent and the MCP tool. The icon will appear in Microsoft Teams and the Copilot app to help users identify the integration.