Reference Presentation PowerPoint Generation
Your template will consist of several fields and sections where placeholder content will be replaced by the real content of the project reference being presented. Those fields and sections need to be identified and replaced by the actual content you are able to edit in decídalo.
There are no restrictions on the placeholders you can use on the slides.
Adding Fields to a Project Reference Presentation Template
Each field is enclosed by "<<" and ">>" and only contains the field name, e.g. “ProjectName” as the identifier of the data field to enter at this point.
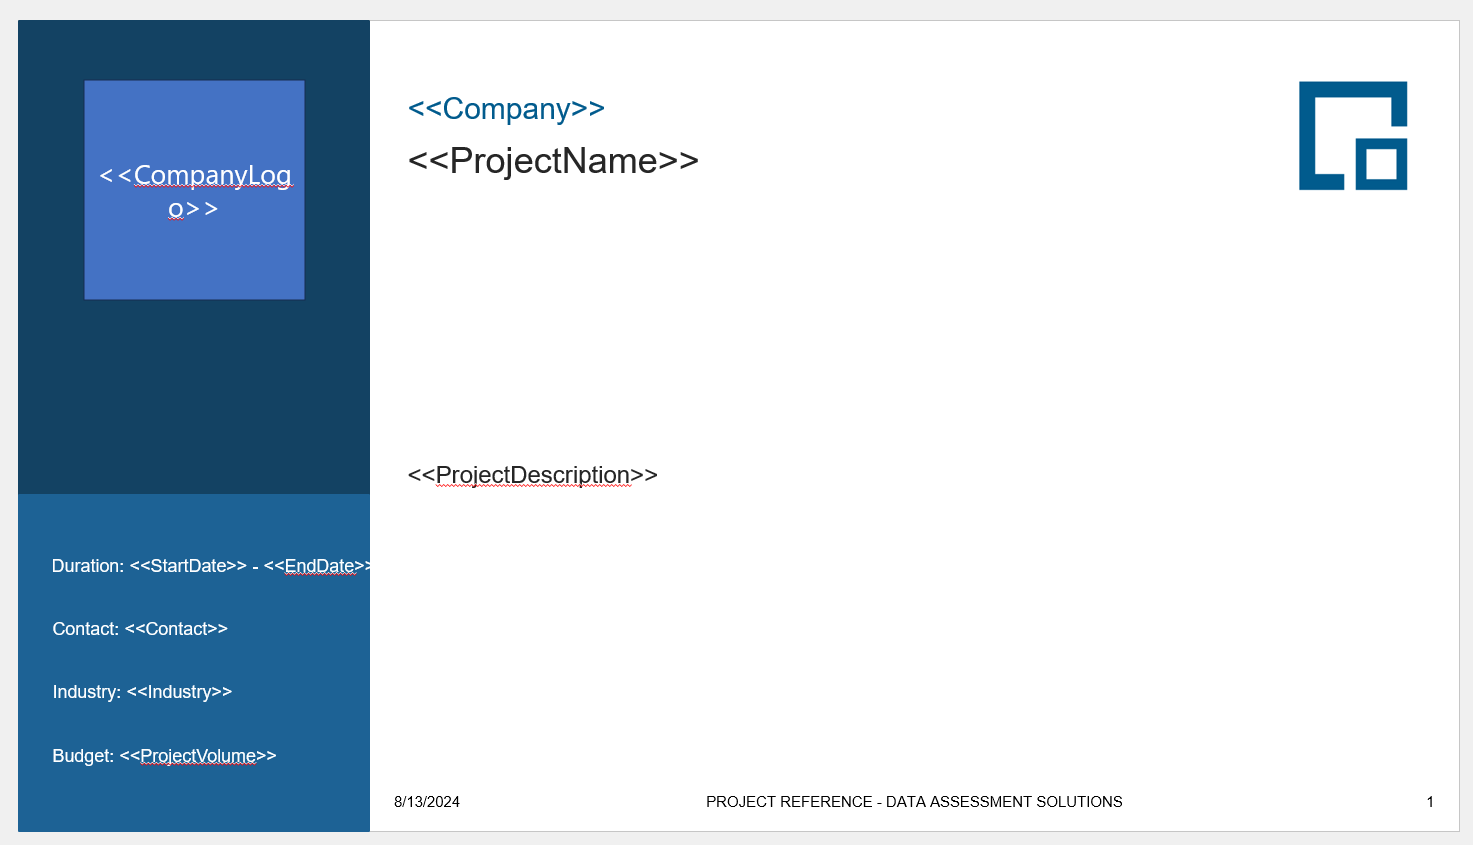
As you can see, there are a few exceptions regarding the syntax, we will look at them in detail now.
Regarding the position,there are basically no restrictions on where you add fields on your template.
The Different Fields
Every data field that can be displayed on the project reference presentation is represented by a field name. Contrary to the CV, there are no nested fields. The following table shows all the fields currently available.
| Field | Description |
|---|---|
| ProjectName | The name of a single project. |
| ProjectDescription | A description of the project. |
| StartDate | Start date of the project. |
| EndDate | End date of the project. |
| Company | The name of the company the project is associated with. |
| Industry | The industry the project is associated with. |
| CompanyRegisteredName | The officially registered name of the company the project is associated with. |
| CompanyAlias | An alias of the company the project is associated with. May be used for anonymization purposes. |
Additionally, there is a special placeholder <<CompanyLogo>> that must be placed on a shape element and indicates that the shape should be replaced by the logo of the reference project or its customer.
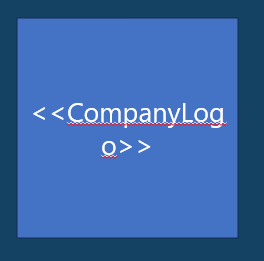
There is also a special placeholder <<IndustryLogo>> that must be placed on a shape element and indicates that the shape should be replaced by the logo of the industry associated with the reference project. The same shape setup shown above applies.
Customer Data Export Restrictions
If either the project-level option 'Display customer data on CV' or the customer-level option 'Allow customer data export' is set to 'No', the company name and logo will not be exported for that project in the reference presentation. In this case, the company name and logo fields will simply be left empty in the generated document.
Custom Properties
Custom properties that have been added to the project entity via the administration page, can be added to the templates as well.
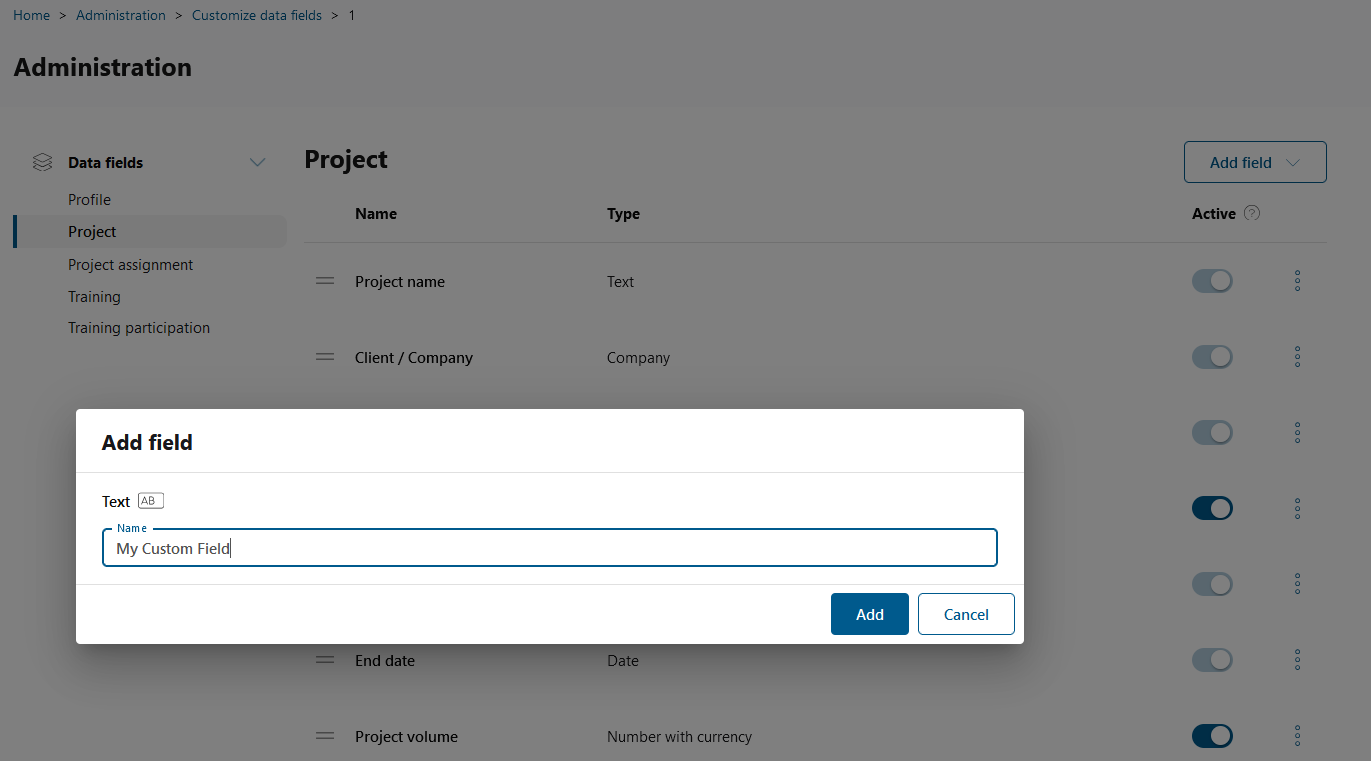 The corresponding placeholder is "cp" followed by the given title in PascalCase. E.g. for a property "My Custom Field", the placeholder would be <<cpMyCustomField>>
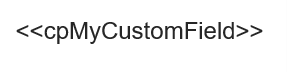 In some special cases, in particular when properties with the same name have been added multiple times, the template placeholder must be extended by a small number e.g. <<cpMyCustomField1>>.
This also applies to select properties: the placeholder is the title-based name without any suffix, e.g. <<cpBuilding>> for a property "Building", and the generated document shows the selected option's text. A variant with a trailing "ID" is not a placeholder and stays empty in the generated document. Reference presentations that were created before this was introduced show no value for a select placeholder until they are created again.
Template Fields
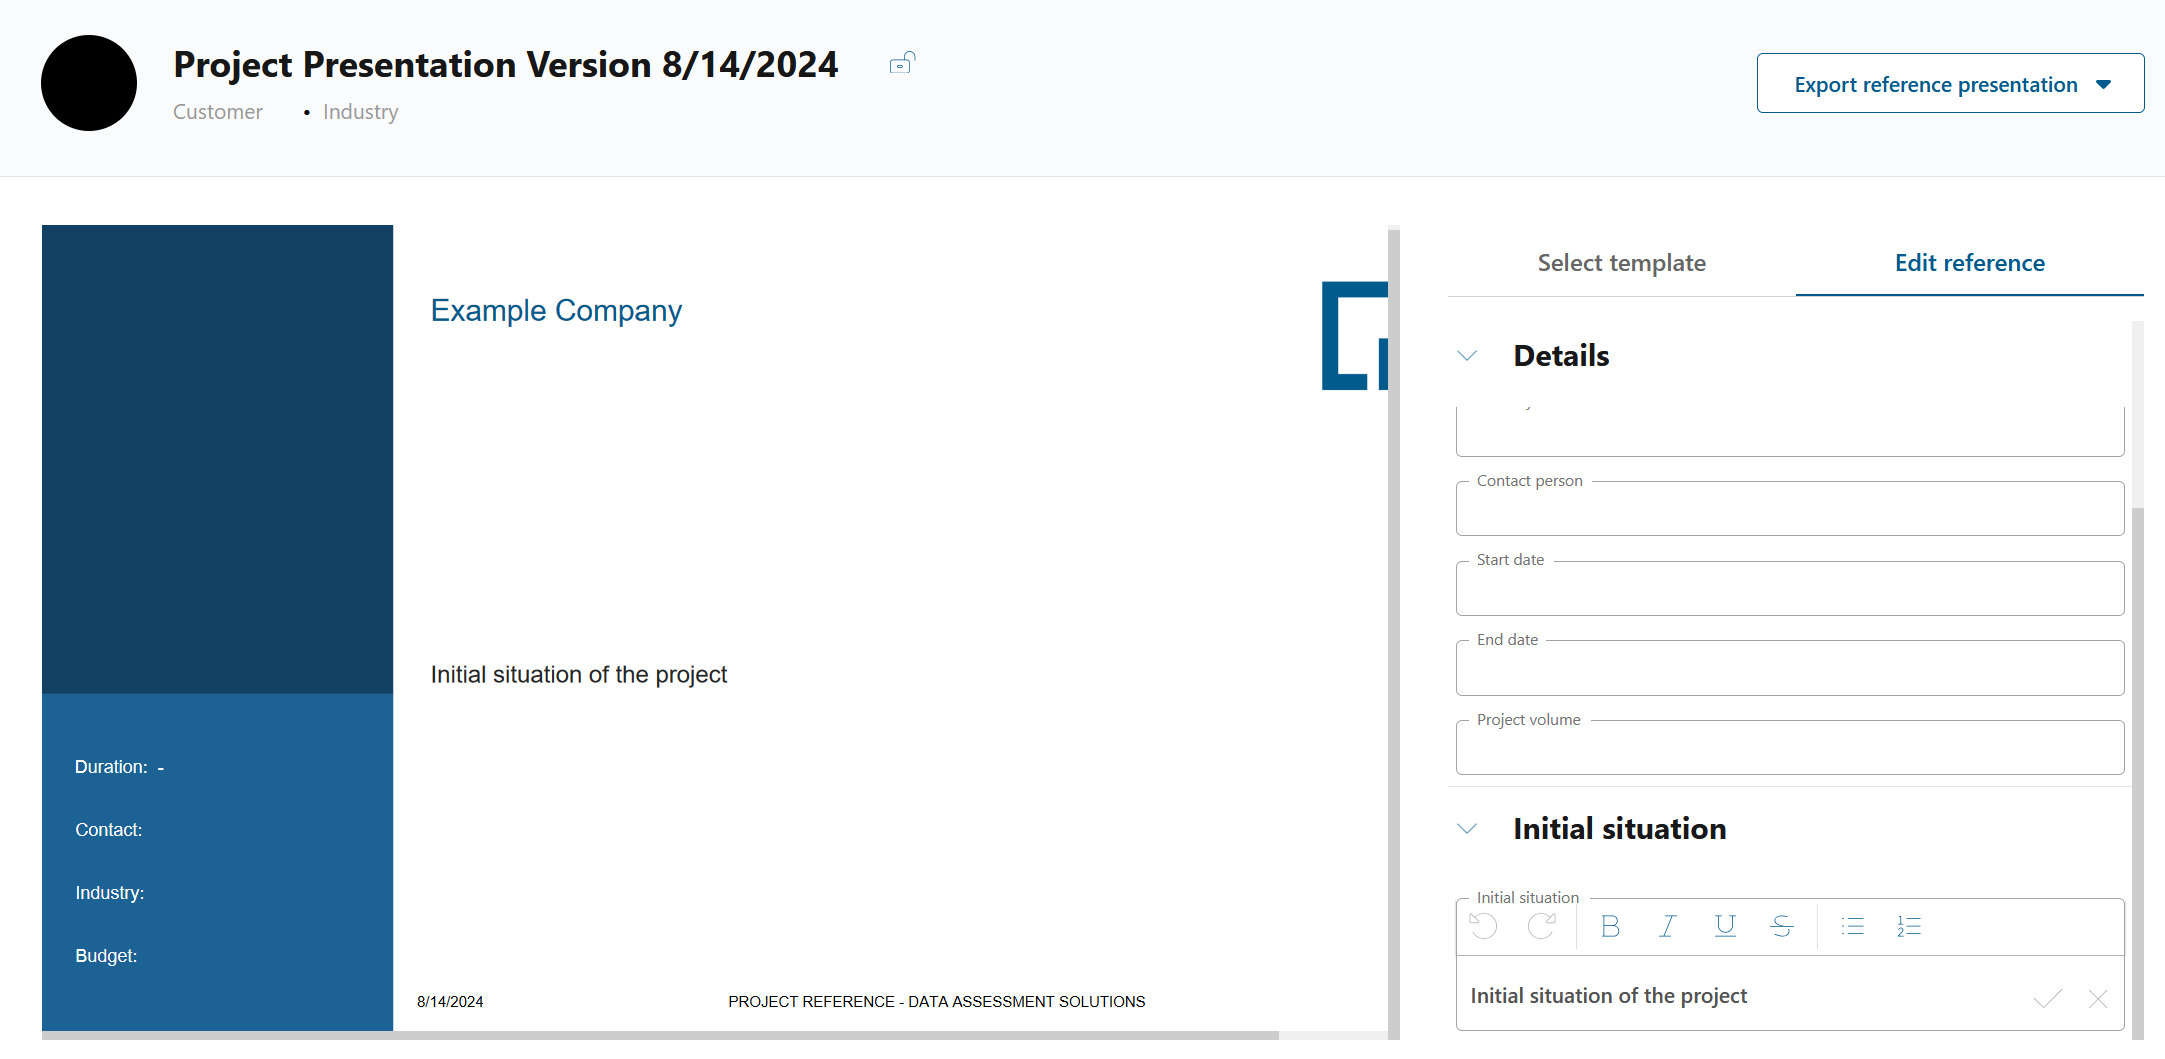
In addition to the custom properties added via the entity administration page, it is possible to add further fields on the template. These fields should not include special characters or spaces. For the display on the export page, underscores are replaced by spaces.
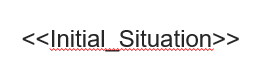 The content of these fields can be AI generated on creation of the reference presentation.
After generation, the fields will be displayed on the export page and can be edited there.
The content of these fields can be AI generated on creation of the reference presentation.
After generation, the fields will be displayed on the export page and can be edited there.
Optional Parameters
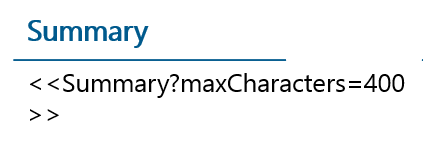
Some fields allow to add optional parameters. The syntax for this is <<{FieldName}?{ParameterName}={Value}>>
The following table shows all currently available parameters on the fields.
| Field | Parameter | Application | Description |
|---|---|---|---|
| All fields | textBefore | textBefore=[<string>] | Defines a string that will be displayed before the field. It is only displayed when the field has a value. |
| All fields | inlineTextBefore | inlineTextBefore=[<string>] | Like textBefore, but for formatted fields it is placed on the same line as the text instead of above it. See the notes below. |
| ProjectDescription and custom fields | maxCharacters | maxCharacters=[<integer>] | Defines a guideline for the length of AI-generated content for the field. Not a hard limit. |
| StartDate, EndDate and custom date fields | dateFormat | dateFormat=<string> | Defines the format the date is displayed in, e.g. dateFormat=MM/yyyy for 01/2026. |
By default the date fields are displayed in the standard format of the template's language, for example 15.01.2026 for a German template. Using the dateFormat parameter you can define the format yourself, e.g. <<StartDate?dateFormat=MM/yyyy>>.
Notes:
- The parameter can be set individually per date field, so StartDate and EndDate can use different formats.
- Formats containing a month name (
MMMM yyyy,MMM/yyyy) are translated into the language of the template, so a German template showsMärz 2025. - Separators you write in the format are kept as they are, so
MM/yyyystays with a slash even in a German template. - The format is applied when a reference presentation is created. Reference presentations that already exist keep the dates they were created with; adjust the template and create a new reference presentation to apply a changed format.
Labels in Front of Formatted Fields
Fields that are edited in a formatted text editor, such as the project description or a paragraph custom field, can consist of several paragraphs. Their content is therefore placed in paragraphs of its own on the slide, and a label added with textBefore appears on the line above the text.
If you want the label on the same line as the beginning of the text, use inlineTextBefore instead:
<<ProjectDescription?inlineTextBefore=[Project description: ]>>
Both options display the label only when the field has a value, so an empty field leaves no stray label behind. They differ only in where the label is placed, and textBefore keeps working exactly as before, so existing templates are unaffected. If you set both on the same field, inlineTextBefore is used.
Three things to keep in mind when using inlineTextBefore:
- The label always takes over the formatting of the field it belongs to. It cannot be made bold or coloured on its own. If you need a differently formatted label, write it into the template as normal text instead, on the line above the field.
- If the field content starts with a list or a table, the label is placed on the line above the content, because it cannot become part of a list entry.
- On a field that is not a formatted text field, for example a date or a name, both options behave identically.
The value may contain letters, digits, spaces and the characters = [ ] , : - & . /. Other characters, for example brackets or a semicolon, are not supported and cause the placeholder to be printed as it is.
Empty Fields and the Characters Around Them
A field with no value renders as nothing, and any characters typed directly against it, with no space between them, are removed together with it. Brackets wrapped tightly around a field therefore disappear when that field is empty, instead of leaving an empty () on the slide.
A space stops the removal, so ( <<Field>> ) keeps its brackets. Anything glued to the field goes with it, including a label you may want to keep.
The rule and its edge cases are described in full under CV Word Generation.