Reference Presentation Word Generation
To define a Word template for decídalo we use Word’s Mail Merge feature. Your template will consist of several fields and sections where placeholder content will be replaced by the real content of the project reference being presented. Those fields and sections need to be identified and replaced by the actual content you are able to edit in decídalo.
There are no restrictions on the placeholders you can use on the slides.
Adding Merge Fields to a CV Template
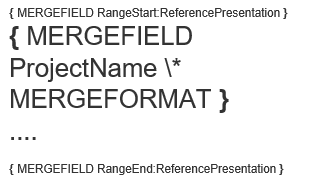
To display merge fields in a word document, press ALT + F9. If you do this with a template that already has merge fields in it (e.g. the downloadable DecidaloWordTemplate_English.docx used in the application), the merge fields will be shown in the document as follows:

Each merge field is enclosed by curly brackets and starts with the text “MERGEFIELD” followed by the field name, e.g. “ProjectName”, the identifier of the data field to enter at this point, and optionally attributes like “* MERGEFORMAT” that additionally describe the appearance of the field in the template. All merge fields should be contained between "{MERGEFIELD RangeStart:ReferencePresentation}" and "{MERGEFIELD RangeEnd:ReferencePresentation}"
To add a merge field you navigate with the cursor to the desired place in the document and either press Ctrl + F9 or more comfortably click through the menu and select Insert > Quick Parts > Field… and in the opening popup “MergeField”:

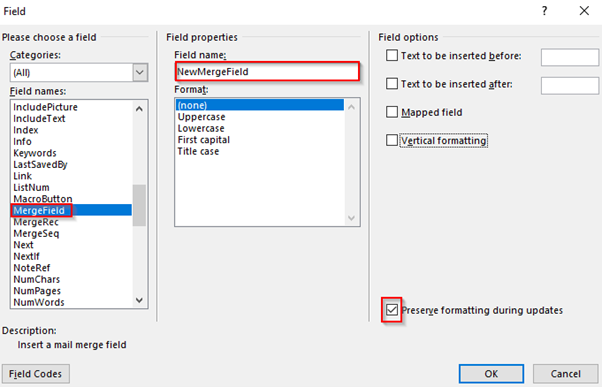
Here you can enter the name of the merge field. Usually, you want to make sure that the checkbox to preserve formatting is checked. This will add the MERGEFORMAT attribute to your merge field and ensures that the text format of the merged content matches the format of the merge-field .
The Different Fields
Every data field that can be displayed on the project reference presentation is represented by a field name. Contrary to the CV, there are no nested fields. The following table shows all the fields currently available.
| Field | Description |
|---|---|
| ProjectName | The name of a single project. |
| ProjectDescription | A description of the project. |
| StartDate | Start date of the project. |
| EndDate | End date of the project. |
| Company | The name of the company the project is associated with. |
| Industry | The industry the project is associated with. |
| CompanyRegisteredName | The officially registered name of the company the project is associated with. |
| CompanyAlias | An alias of the company the project is associated with. May be used for anonymization purposes. |
Additionally, there is a special placeholder @@CompanyLogo@@ that must be placed on a shape element and indicates that the shape should be replaced by the logo of the reference project or its customer.

There is also a special placeholder @@IndustryLogo@@ that must be placed on a shape element and indicates that the shape should be replaced by the logo of the industry associated with the reference project. The same shape setup shown above applies.
Customizing the Date Format
By default the date fields (StartDate, EndDate and any custom property of type date) are displayed in the standard format of the template's language, for example 15.01.2026 for a German template.
Using the \dateFormat tag you can define the format yourself, for example MM/yyyy (01/2026) or MM/yy (01/26). Add the tag to the merge field of the date you want to format:
{MERGEFIELD \dateFormat "MM/yyyy" StartDate}
The tag must be placed before the field name, exactly as shown above. If the tag is placed after the field name, the field can no longer be resolved and stays empty in the generated document.
Notes:
- The tag can be set individually per date field, so StartDate and EndDate can use different formats.
- Formats containing a month name (
MMMM yyyy,MMM/yyyy) are translated into the language of the template, so a German template showsMärz 2025. - Separators you write in the format are kept as they are, so
MM/yyyystays with a slash even in a German template. - Date fields placed in the page header or footer are formatted as well. They share their format with the matching field in the document body, so the same date is shown in the same way in both places. It is therefore enough to tag one of the two, and tagging only the header or footer field also changes the body field. If both carry a tag, the format of the field in the document body is used.
- The format is applied when a reference presentation is created. Reference presentations that already exist keep the dates they were created with; adjust the template and create a new reference presentation to apply a changed format.
Customer Data Export Restrictions
If either the project-level option 'Display customer data on CV' or the customer-level option 'Allow customer data export' is set to 'No', the company name and logo will not be exported for that project in the reference presentation. In this case, the company name and logo fields will simply be left empty in the generated document.
Custom Properties
Custom properties that have been added to the project entity via the administration page, can be added to the templates as well.
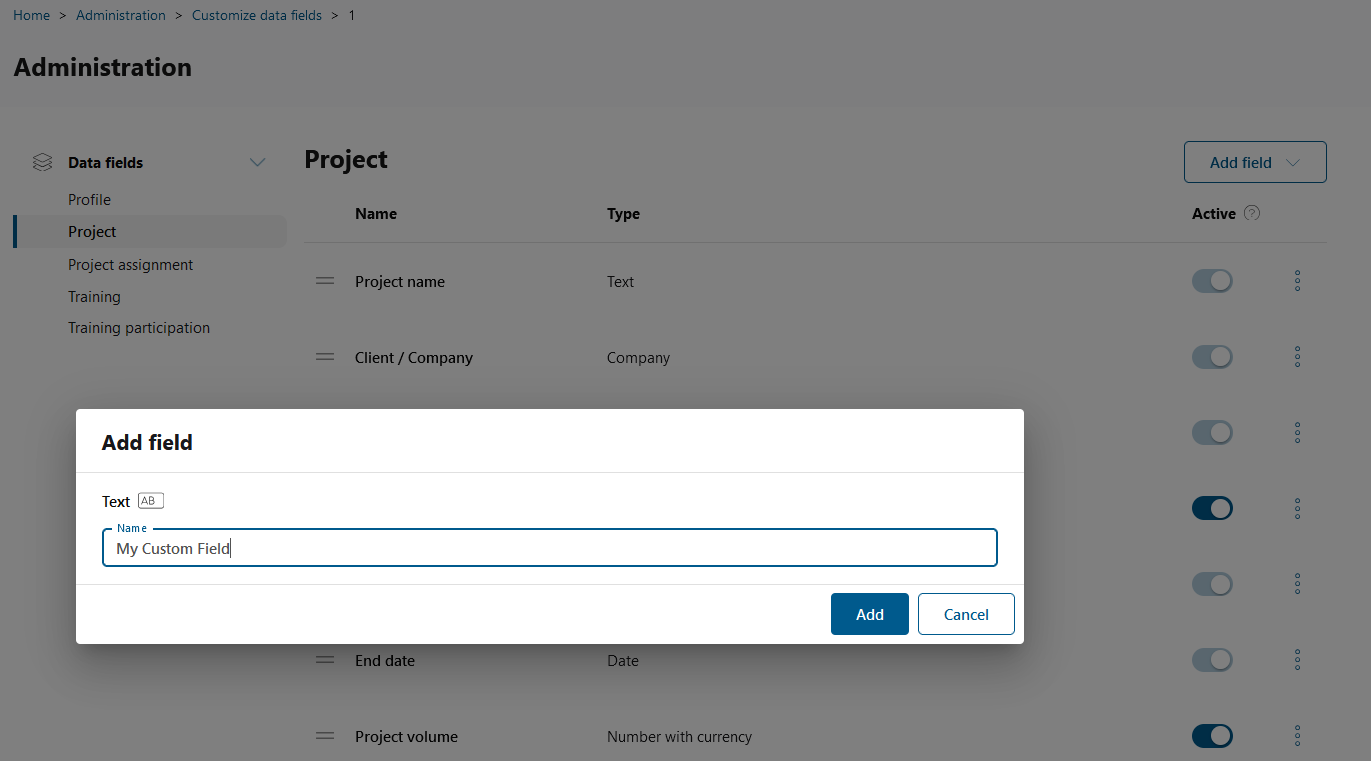 The corresponding placeholder is "cp" followed by the given title in PascalCase. E.g. for a property "My Custom Field", the placeholder would be "{MERGEFIELD cpMyCustomField}"
 In some special cases, in particular when properties with the same name have been added multiple times, the template placeholder must be extended by a small number e.g. "{MERGEFIELD cpMyCustomField1}".
Template Fields
In addition to the custom properties added via the entity administration page, it is possible to add further fields on the template. These fields should not include special characters or spaces. For the display on the export page, underscores are replaced by spaces.
 The content of these fields can be AI generated on creation of the reference presentation.
After generation, the fields will be displayed on the export page and can be edited there.
The content of these fields can be AI generated on creation of the reference presentation.
After generation, the fields will be displayed on the export page and can be edited there.
Graphical Elements
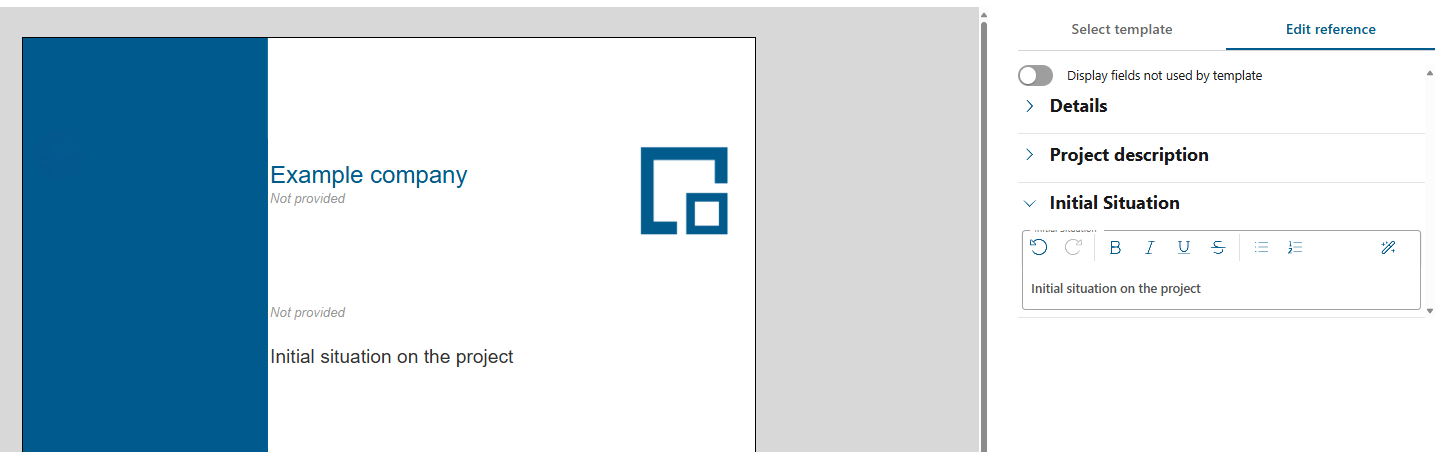
It is possible to include design elements like logos or graphical objects into your template. If you want them to appear on all pages, make sure they are anchored in the header or footer of the page.
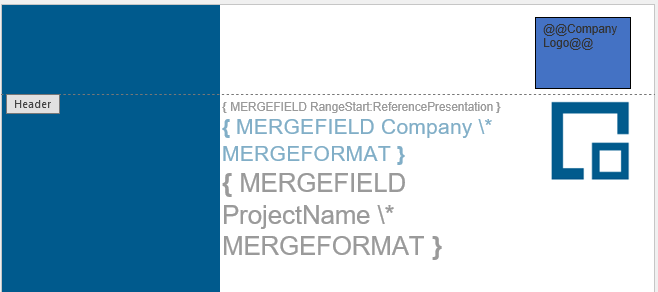
If you only want them to appear on the first page only, anchor them on the page itself.
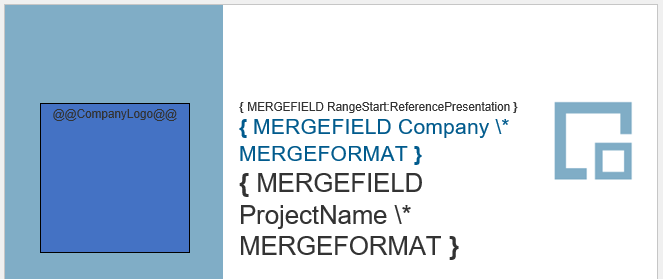
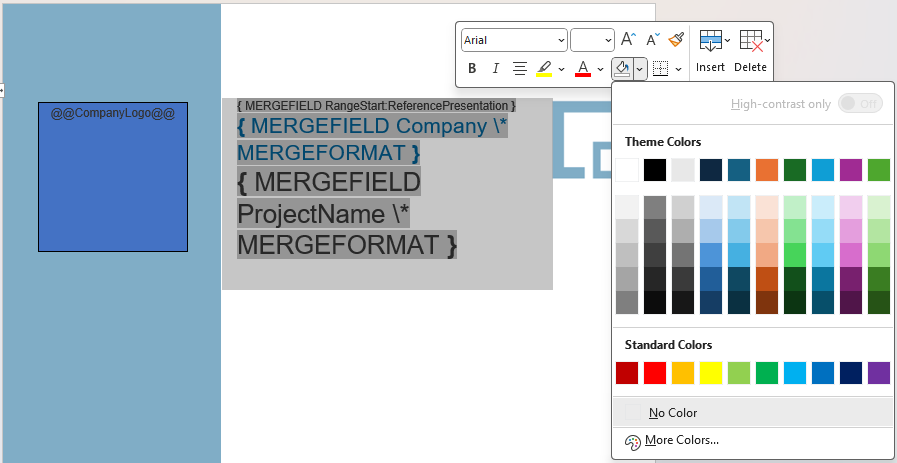
For colored areas that should extend over whole sections, you can also use colored table cells.
Custom Fonts
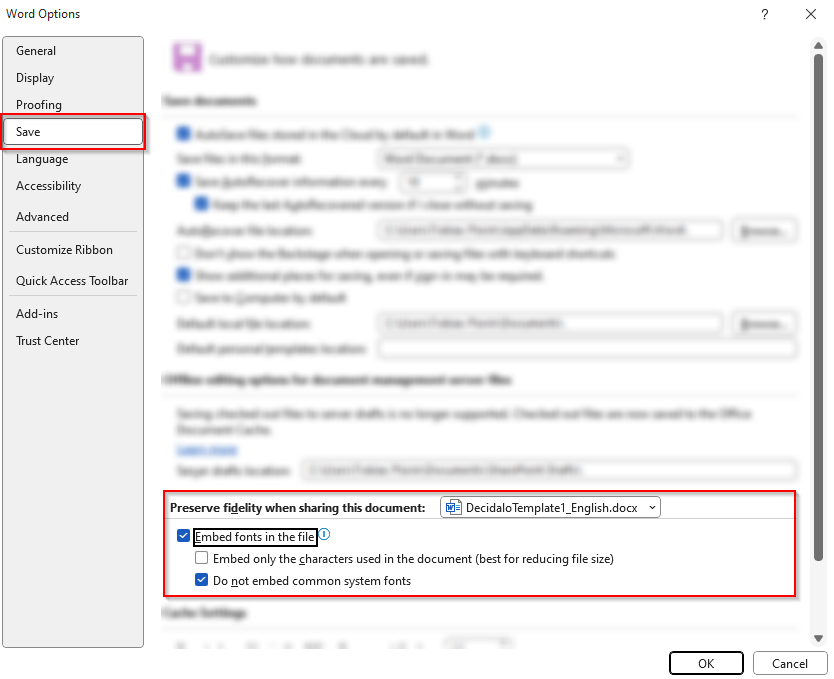
You can use any custom font available to you in your template. However, for such custom fonts to work correctly, it is crucial that your fonts are embedded into the template document. This ensures that any viewer of CV documents created from the template will also be able to display them in the way you envisioned.
To embed a font into a Word document, make sure that the option displayed below is checked in your Word settings for the template document. The settings can be accessed through Word's File tab.
Embedded fonts are currently supported for the exported Word and PDF CVs that you will send out to your customers. The preview shown in the application itself may show a different font depending on whether the used font is available to your browser, i.e. installed on your system.
Empty Fields and the Characters Around Them
A merge field with no value renders as nothing, and any characters typed directly against it, with no space between them, are removed together with it. Brackets wrapped tightly around a field therefore disappear when that field is empty, instead of leaving an empty () on the document.
A space stops the removal, so ( «Field» ) keeps its brackets. Anything glued to the field goes with it, including a label you may want to keep, so separate a label from the field with a space if it should always appear.
The rule, its edge cases and why the editable preview still shows the brackets are described in full under CV Word Generation.
Template Upload
You can now finish the process of adjusting/creating with uploading the template. To read the documentation about it, go to Reference Generation.